Breakdown 2 of 5
Master materials
I made every master material in the game, including neon holo signs and vertex paint blends broken up with world space noise.
Overview
I made every master material in the project. The four the artists used most were Opaque, Holo, Blend and Decal.
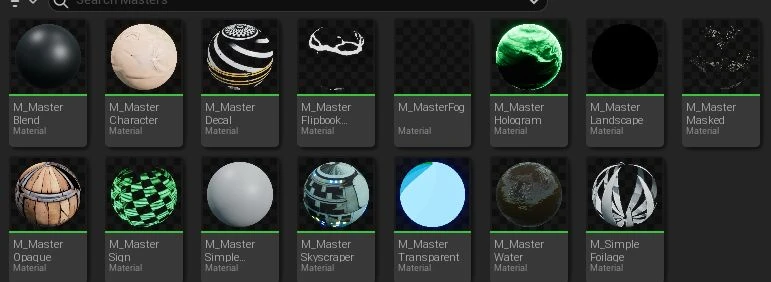
I repeatdly added features as the artists asked for them, sorted the parameters into artist-friendly groups so each material was easy to customise, and weighed each request against its rendering cost.
Opaque
This is the general-purpose material, used on most props and architecture. Most of it is the usual tint, emissive and overlay controls, plus a setting for the ink lines.
Borderlands paints black ink lines straight into the diffuse texture. On a metallic or glossy surface those lines would catch reflections and stop looking like ink, so the Opaque master thresholds the diffuse into a mask of the lines, removes them from the metallic channel and pushes them to full roughness.
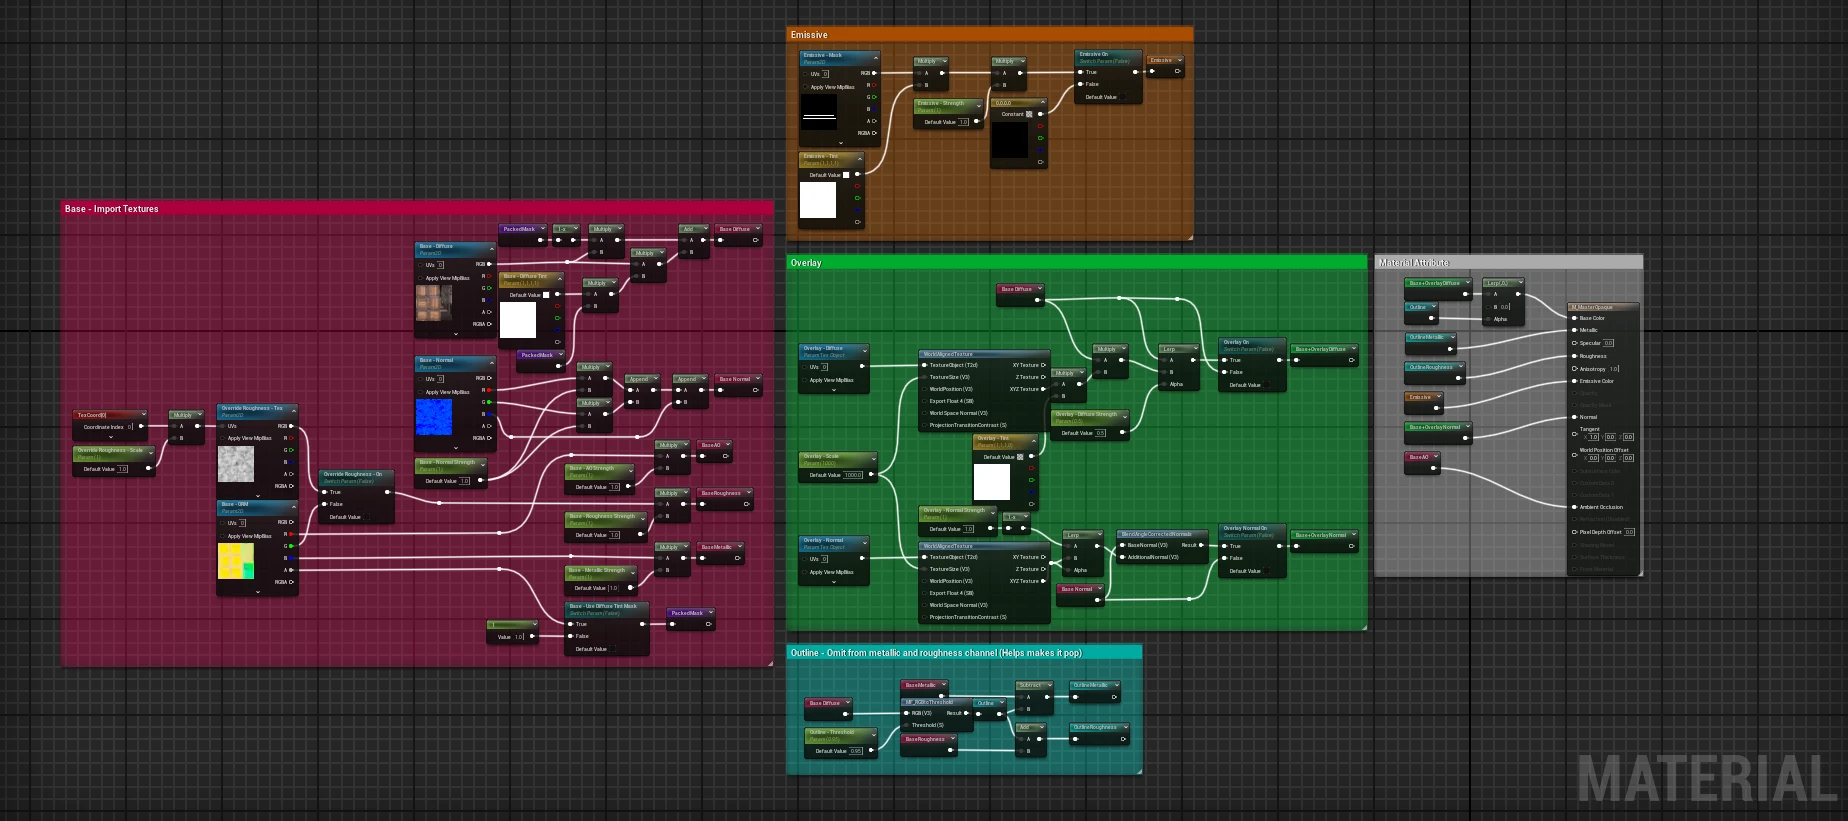
Opaque master’s parameters
- float
- bool
- vector
- texture
Base
- Textures
- Strengths
- Tint
- Override roughness
Emissive
Overlay
Outline
Sign
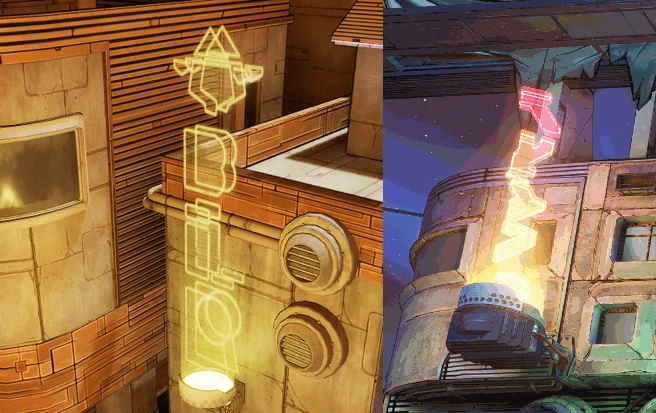
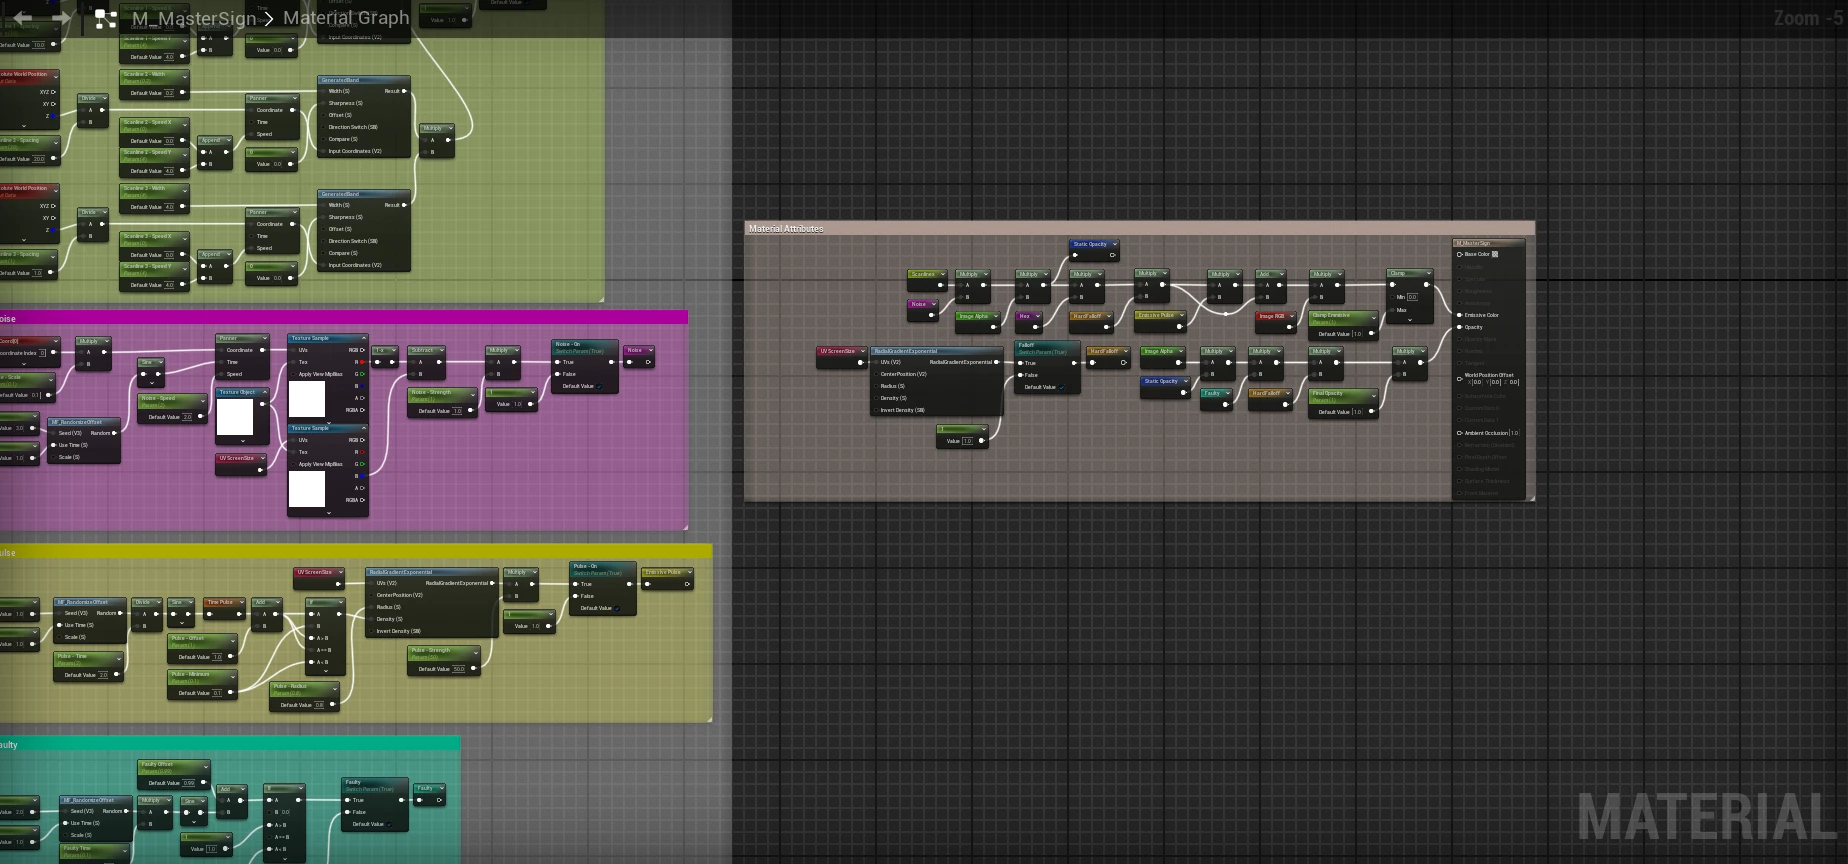
Lectra City is covered in neon and holographic signs, this is replicated with the Sign master. Each effect, like the distortion, scanlines and faults, is its own parameter group with an on switch, and they’re all multiplied together at the end into the emissive colour and opacity. It was intended to be highly customisable so it could be used anywhere, shown below is two examples.
Here’s a comparison of my sign implmentation and one from Borderlands 3. (2D Graphic, credit of Milly)
This is the sign master graph. The coloured comment boxes are for the scanlines, noise, pulse and faulty effects, and the Material Attributes box clamps them into emissive colour and opacity.
Sign master’s parameters
- float
- bool
- texture
Screen
- Screen size
- Icon size
Distortion
Jitter
Texture
Scanlines
- Switch
- Scanline 1
- Scanline 2
- Scanline 3
Noise
Pulse
Faulty
Hex
Final effects
Blend
A big artist request was the vertex painting system. They liked the ground but wanted to be able to breakd it up and have complete control of where. To accomdate, I set up the system, wrote documentation and taught the artists on how to use it. An artist can paint up to four layers over a base material, one vertex colour channel per layer, and the textures are world aligned so they line up across meshes.
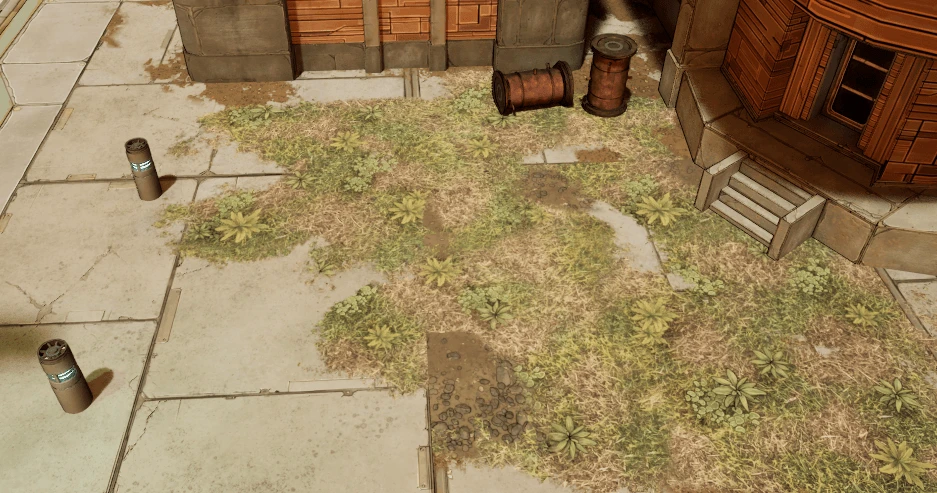
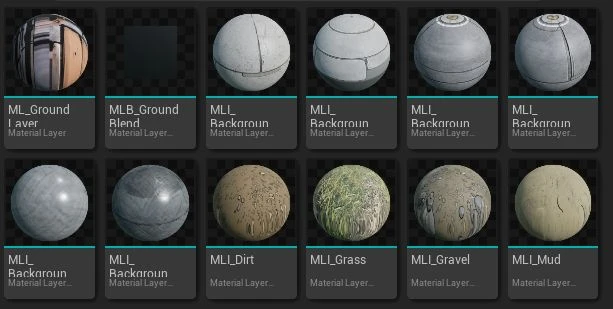
It’s built on Unreal’s material layers. Each surface, like dirt or grass, is an instance of the same layer material, with the Opaque master’s controls plus a world aligned switch, and each layer sits on the one below it through a blend.
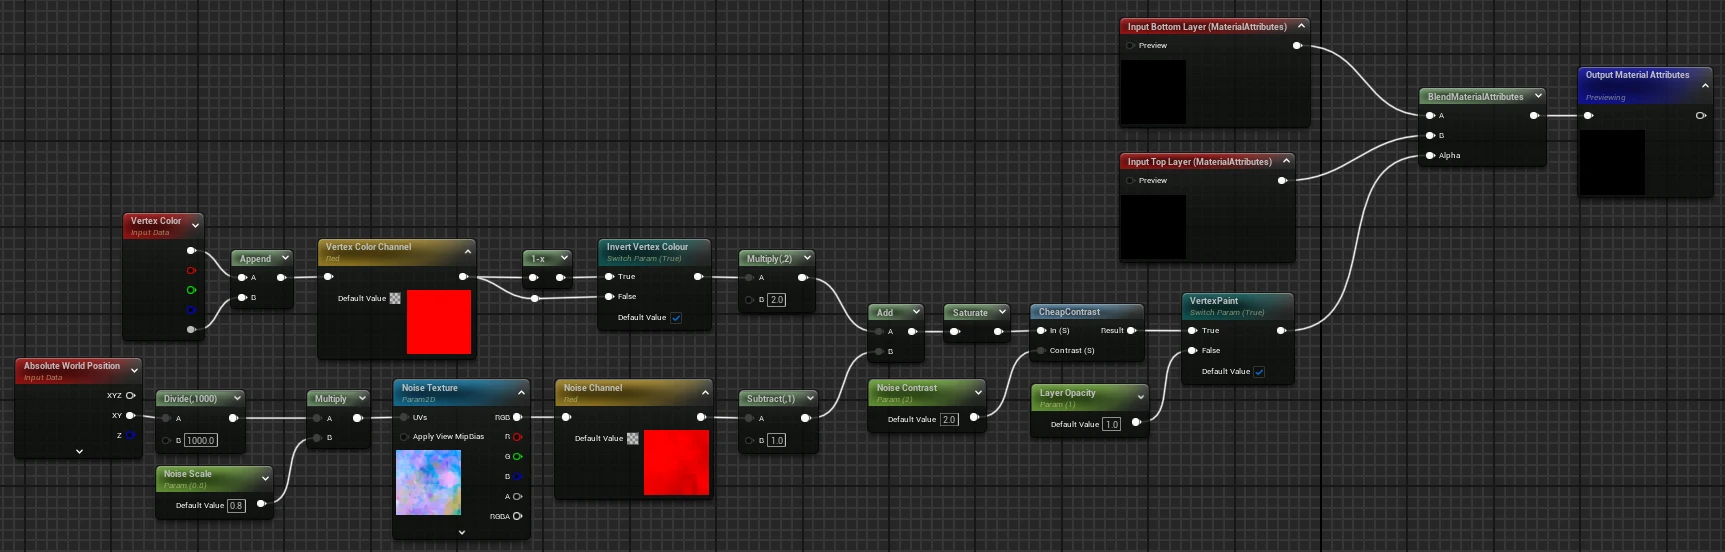
Painted vertex colour on its own gives a soft, smeared gradient, and on a low poly mesh it shows exactly where each vertex sits. To break that up, the blend mixes the painted value with a noise texture sampled in world space before it drives the alpha. The texture packs a different noise into each channel, so each material instance picks the kind of edge it wants by choosing a channel:
v     = one vertex colour channel, inverted by default
n     = chosen channel of the packed noise texture, sampled at world XY / 1000 * Noise Scale (0.8)
alpha = CheapContrast( saturate(2v + n - 1), Noise Contrast (2.0) )
Around the middle of a brush stroke, the noise decides where the edge falls and the contrast sharpens it. Because the noise comes from world position rather than UVs, the edge carries on across the join between two meshes same as the texture.
Blend Layer’s Parameters
- float
- bool
- texture
- channel
MLB_GroundBlend
- Control
- Noise
ML_GroundLayer
- Material scale
- Same as Opaque
Decal
I wrote the Decals slide of the art bible, which planned graffiti, cracks, grunge and markings to break up the trim sheets.
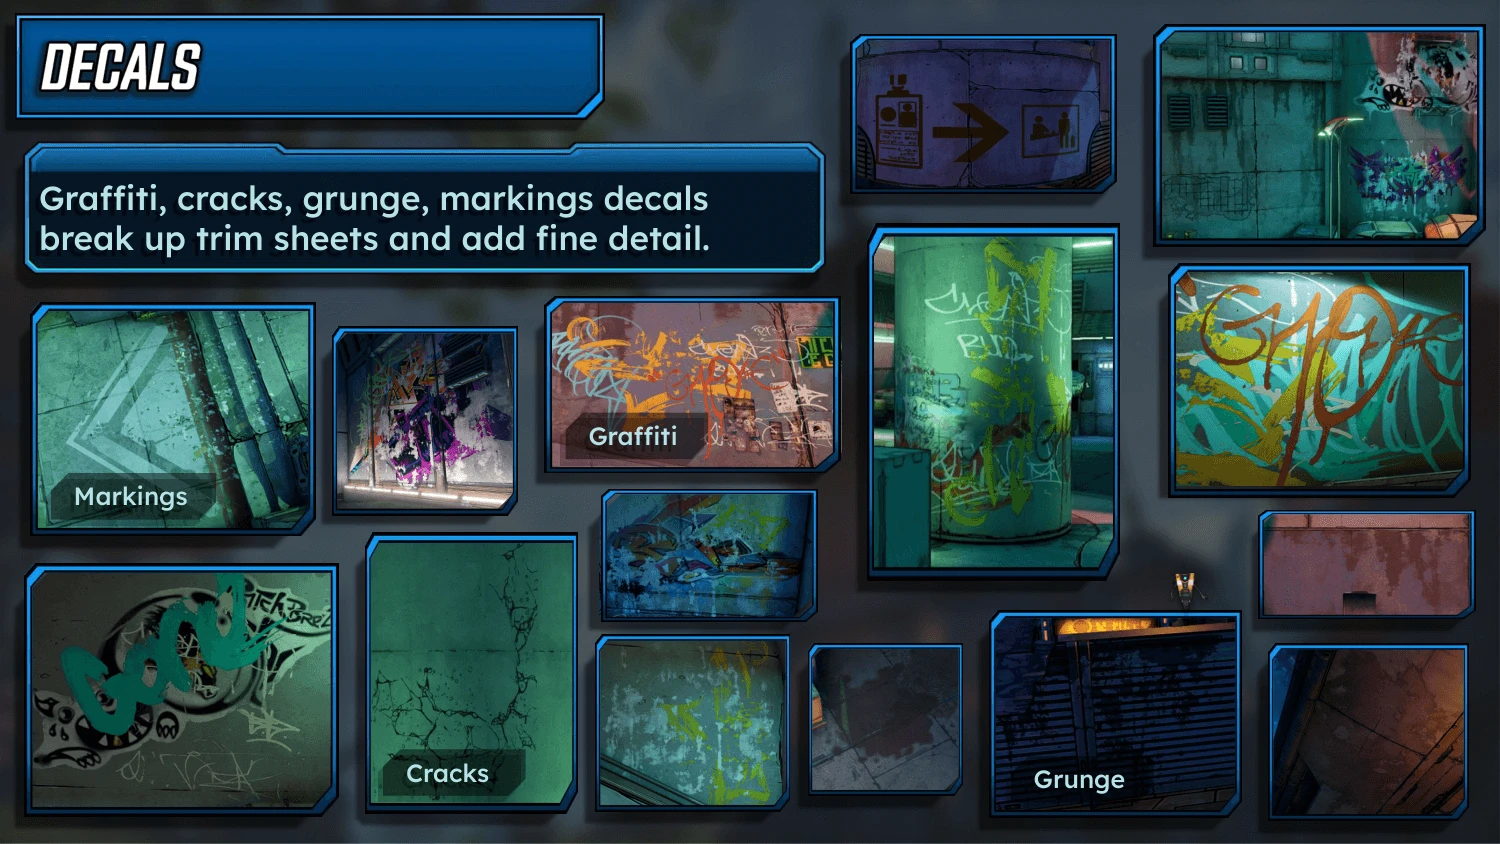
In the decal master, every channel has its own switch, and atlas controls let one texture sheet hold several decals packed to save vram, picked by column, row and index.
To really nail the painted look the decals had to be hand-drawn as this is a very distinct aspect when looking at the game. References were gathered from various places that we could use like Unreal’s Starter content or Megascan leakges etc and then manually remade by Milly and Ollie. The effort paid off.
Optimisation
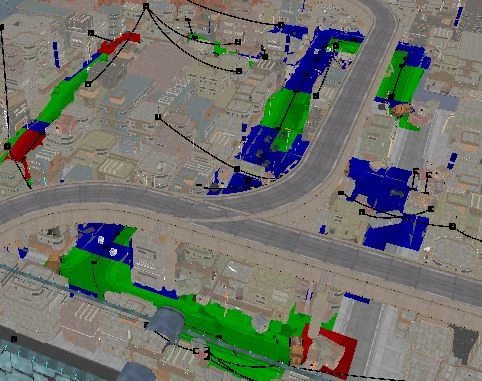
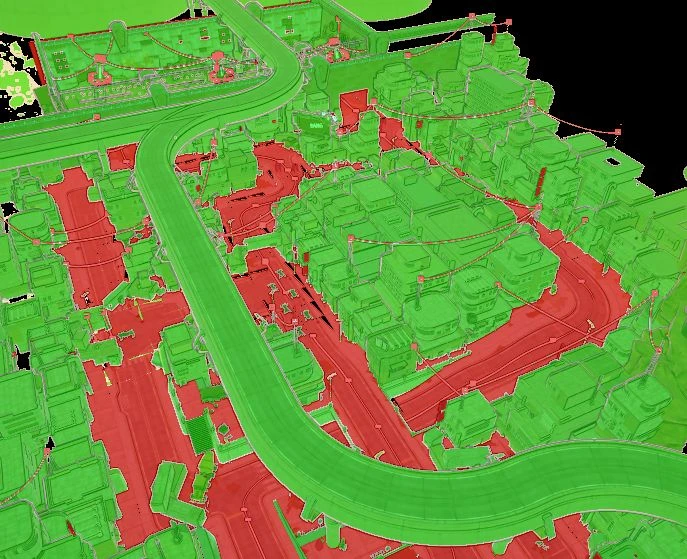
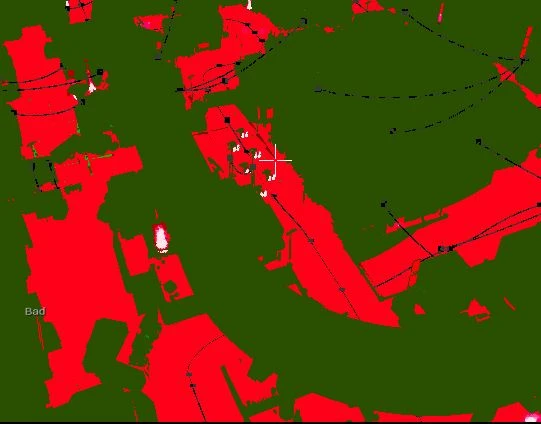
All master materials made use of static switches, so that unused features would not add to performance cost. Packed textures avoided higher texture usages. Since these material were used on almost every asset in the game, I kept the shader complexity as low as possible.
Assets were also optimised set to be immovable and use nanite to benefit from batch instancing and harsh lods for assets that could support Nanite like the transculent holograms or the material blend floors.
Reflections
Looking back using nanite proably did more harm than good as the game had to do rendering for both pipelines. Traditonal LOD would have sufficed. I also didnt do too much profiling outside of stat GPU and shader complexity view, this made it hard to know what the biggest pain points really were and if my efforts were effective with determinstic and comparable numbers. I also juggled this amongest alot of other areas of work so I couldnt give it the focus it derserved.